Worried about tiny, invisible cracks in your pipes causing major leaks later? Visual checks miss them, and X-rays are too expensive. Our penetrant testing finds surface defects affordably.
Penetrant Testing (PT) is a low-cost, non-destructive method that uses a colored dye to seep into surface-breaking defects like cracks or porosity. This makes invisible flaws visible to the naked eye, ensuring pipe integrity without the high cost of more complex inspection methods.
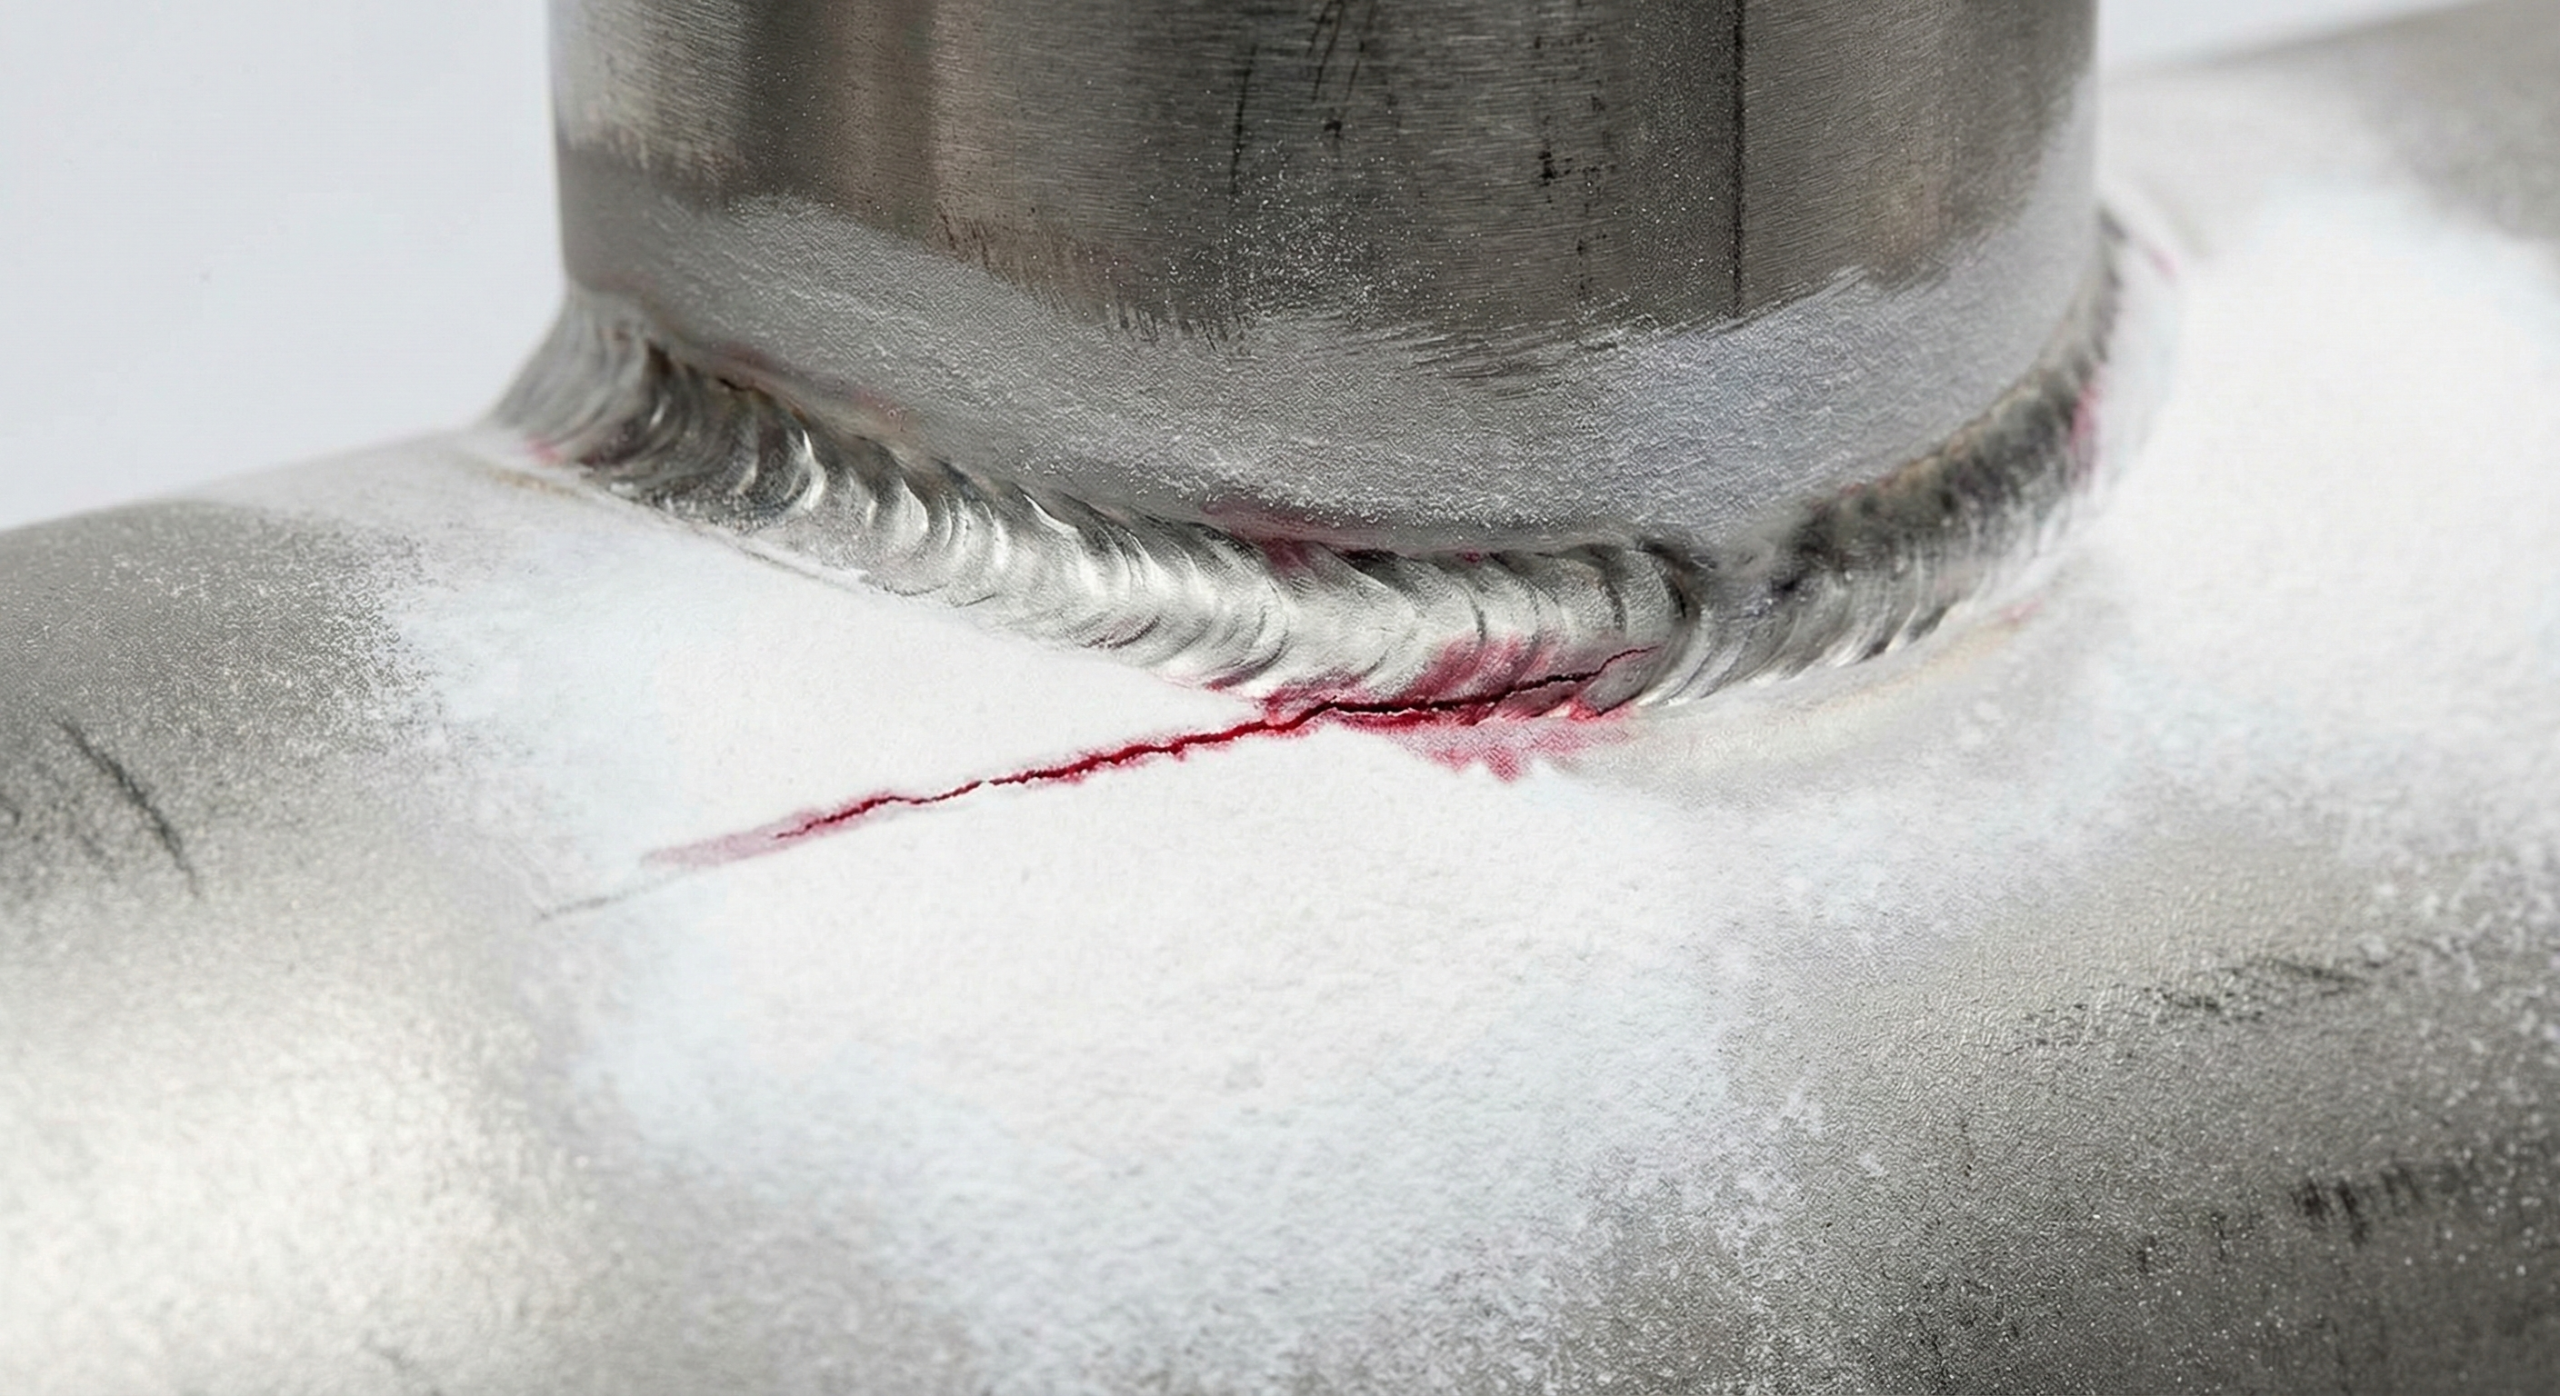
It sounds simple, but getting it right is what truly matters. To be honest, PT is not some high-tech miracle. Its real power is in its practical application. I've seen welds that are ground and polished to a beautiful shine, but they hide tiny cracks just waiting to cause trouble under pressure. Using X-ray (RT) on every single weld is often overkill and way too expensive. But just trusting your eyes isn't enough, especially after a long day on the floor. PT is the perfect middle ground. It's the most cost-effective way to find those hidden surface problems and buy yourself some real peace of mind. Let me walk you through how we make this simple process a cornerstone of our quality guarantee.
How Can You Follow a Reliable Liquid Penetrant Testing Procedure?
Need a clear, step-by-step guide for PT? Confusing instructions can lead to missed defects. We provide a straightforward procedure to ensure consistent, accurate results every time.
A reliable liquid penetrant testing procedure involves six key steps: 1) Pre-cleaning the surface, 2) Applying the penetrant, 3) Allowing dwell time, 4) Removing excess penetrant, 5) Applying the developer, and 6) Inspecting for indications and post-cleaning.
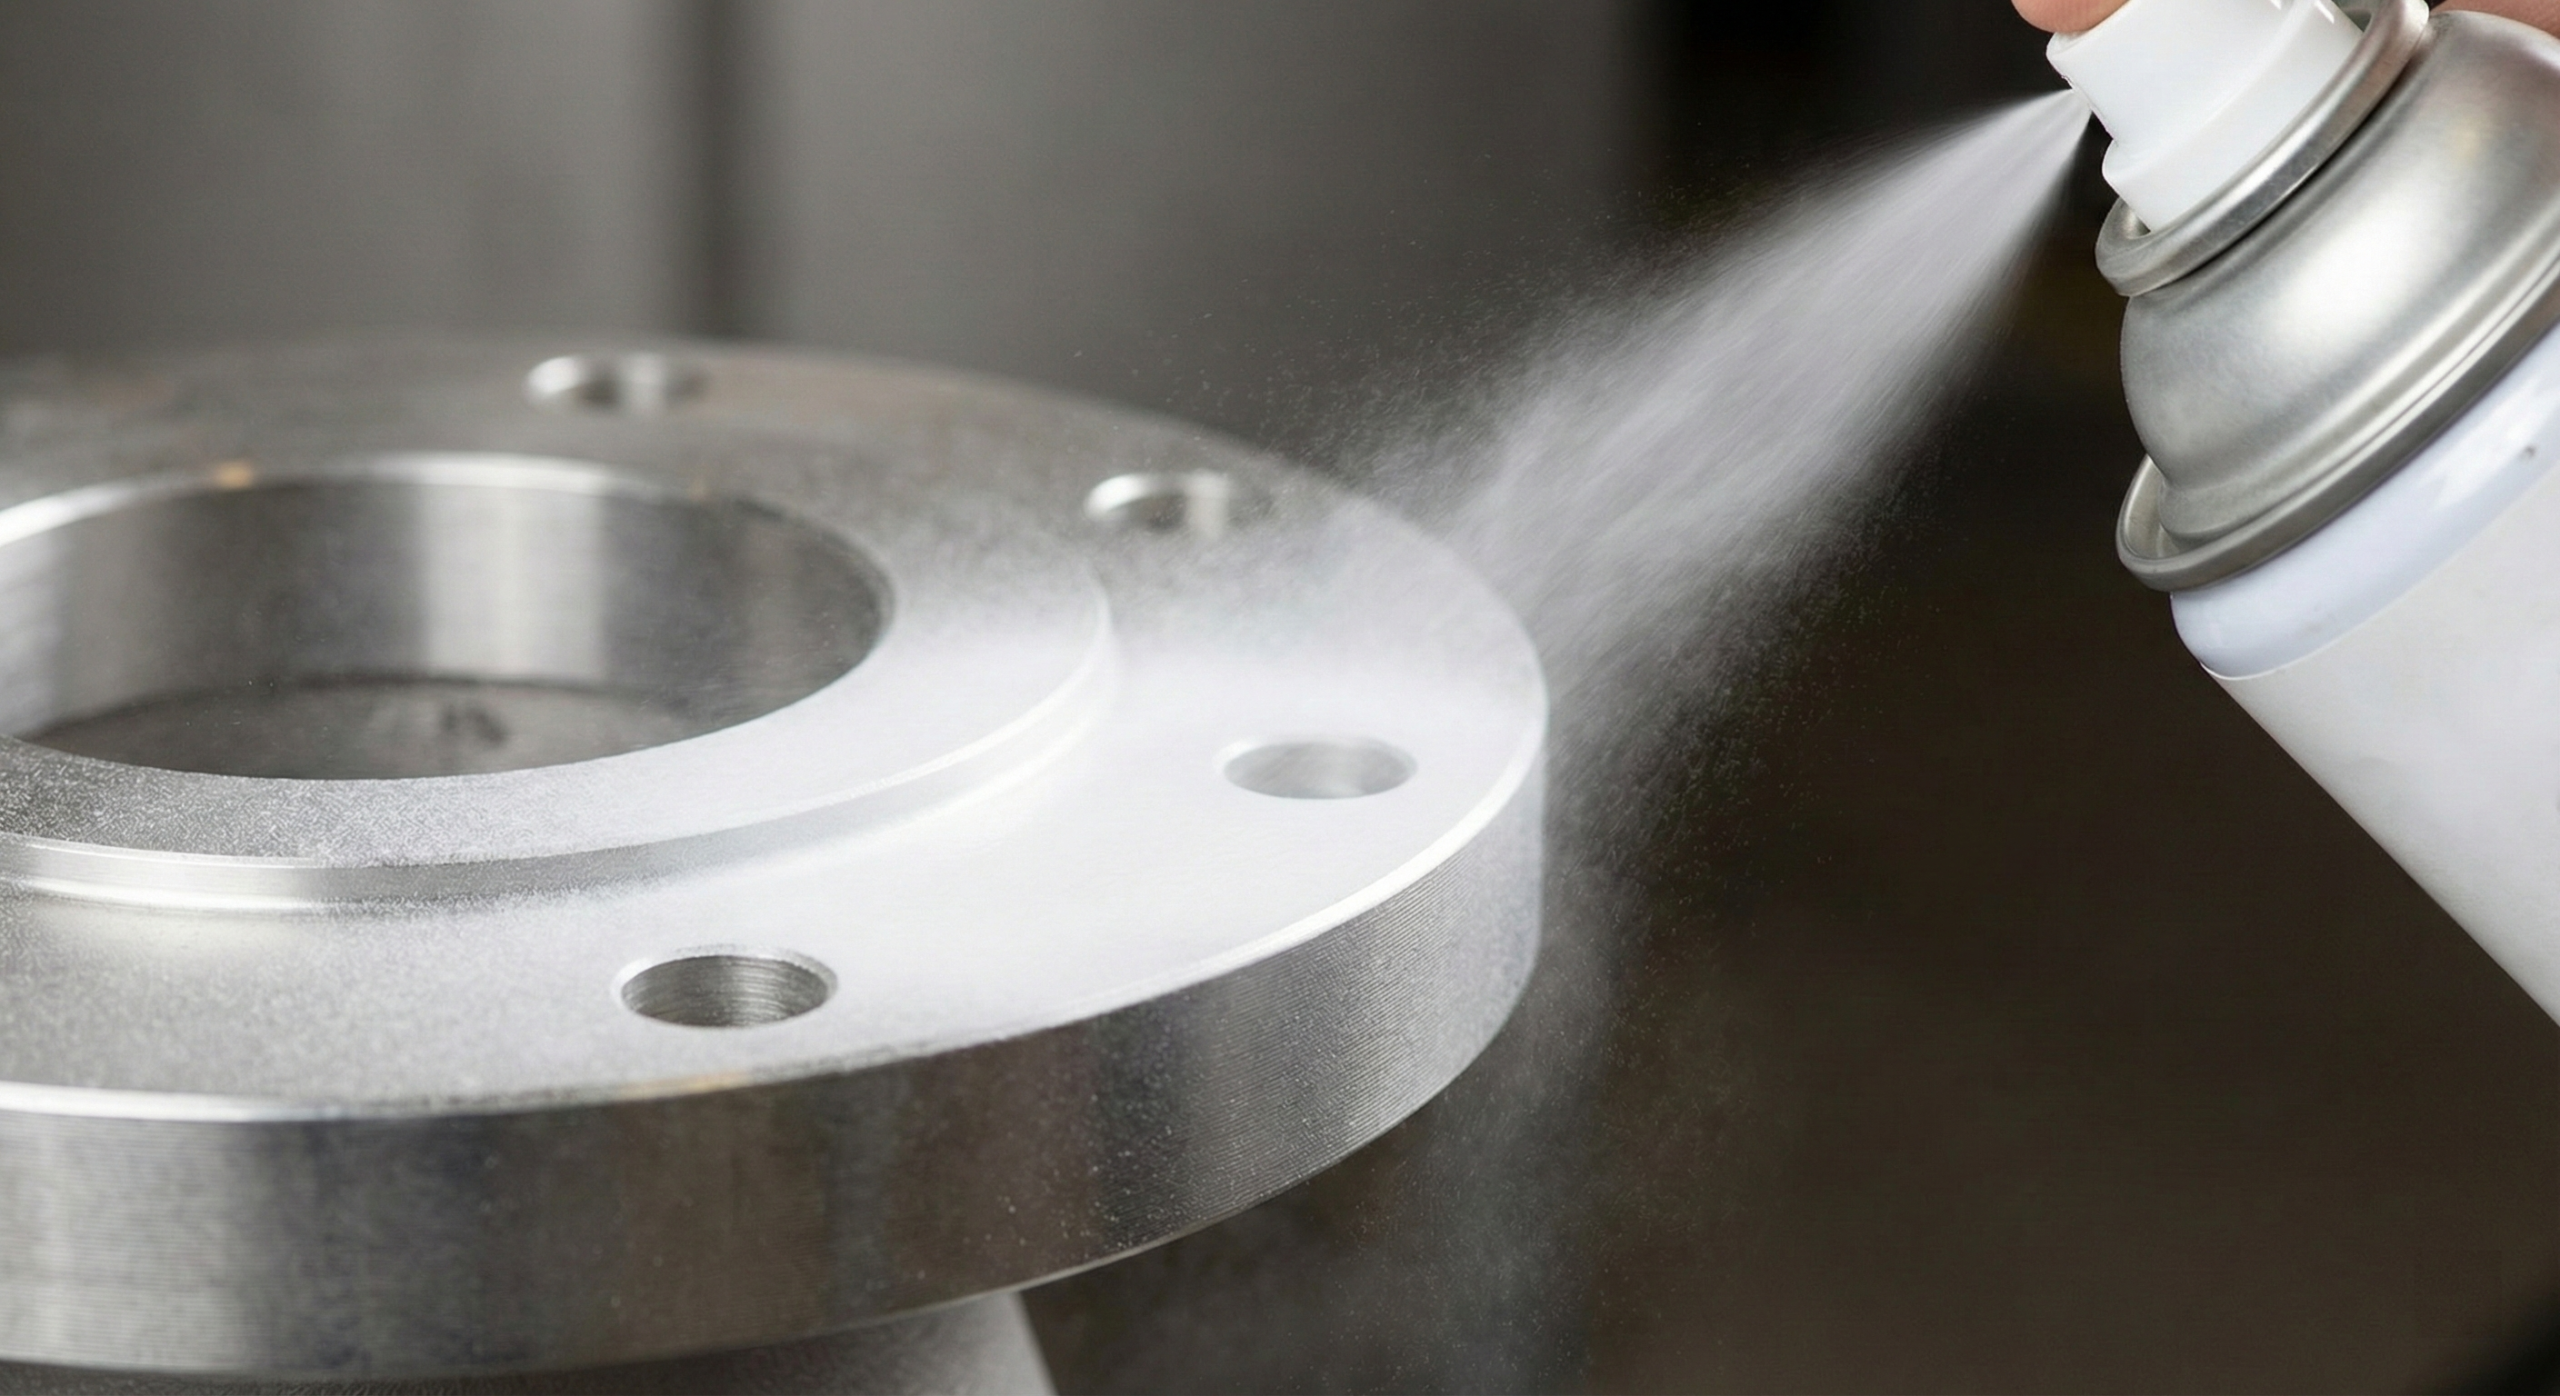
The secret to effective penetrant testing isn't a secret at all. It's just doing the job honestly and not cutting corners to save a few minutes. Any factory can buy the chemicals, but not every factory has the discipline to follow the procedure correctly every single time. I've seen places where they rush the job to meet a deadline. They wipe off the developer before it's even had a chance to work properly. That’s not inspection; it’s just for show. We stick to the standard process. After we apply the chemicals, we wait patiently for the indications to appear. The work isn't hard. The hard part is having the patience and commitment to do this "dumb" work on every single pipe and fitting that leaves our facility.
The Six Critical Steps of PT
Following a rigid procedure is non-negotiable for us. It is the only way to guarantee that we can find what the naked eye misses. Here is a breakdown of the steps we follow, based on industry standards.
| Step | Action | Why It's Critical |
|---|---|---|
| 1. Pre-Cleaning | The surface of the pipe or fitting is thoroughly cleaned with a solvent. | The surface must be completely free of oil, grease, or dirt. Any contamination can block the penetrant from entering a defect, making the test useless. |
| 2. Penetrant Application | A thin, even coat of colored (usually red) penetrant is applied to the test area. | The goal is to cover the entire surface so the liquid has a chance to find any opening. |
| 3. Dwell Time | We let the penetrant sit on the surface for a specific amount of time (e.g., 10-30 minutes). | This is the "soaking" phase. The penetrant needs time to seep into even the most microscopic cracks through capillary action. Rushing this step means you will miss smaller defects. |
| 4. Excess Removal | The excess penetrant is carefully wiped from the surface using a clean, lint-free cloth lightly dampened with remover. | We only remove the penetrant from the surface. We are careful not to use too much remover, which could pull the penetrant back out of the defect. |
| 5. Developer Application | A thin layer of white developer is sprayed onto the surface. | The developer acts like a blotter. It draws the trapped penetrant out of the crack and spreads it on the white background, making a tiny flaw appear as a much larger, visible red line. |
| 6. Inspection | After a short development time, the inspector carefully examines the surface under good lighting. | Indications are evaluated based on their size and shape to determine if the part meets the project's quality standards. Any findings are documented. |
What Are the Key Liquid Penetrant Testing Standards We Adhere To?
Unsure if your supplier's testing meets global standards? Non-compliance is a huge risk for any project. We strictly follow internationally recognized standards to guarantee quality and traceability.
We primarily adhere to standards like ASTM E165 (Standard Practice for Liquid Penetrant Examination for General Industry) and ASME Section V, Article 6. These standards dictate the procedures, materials, and personnel qualifications required for reliable testing, ensuring your components meet project specifications.
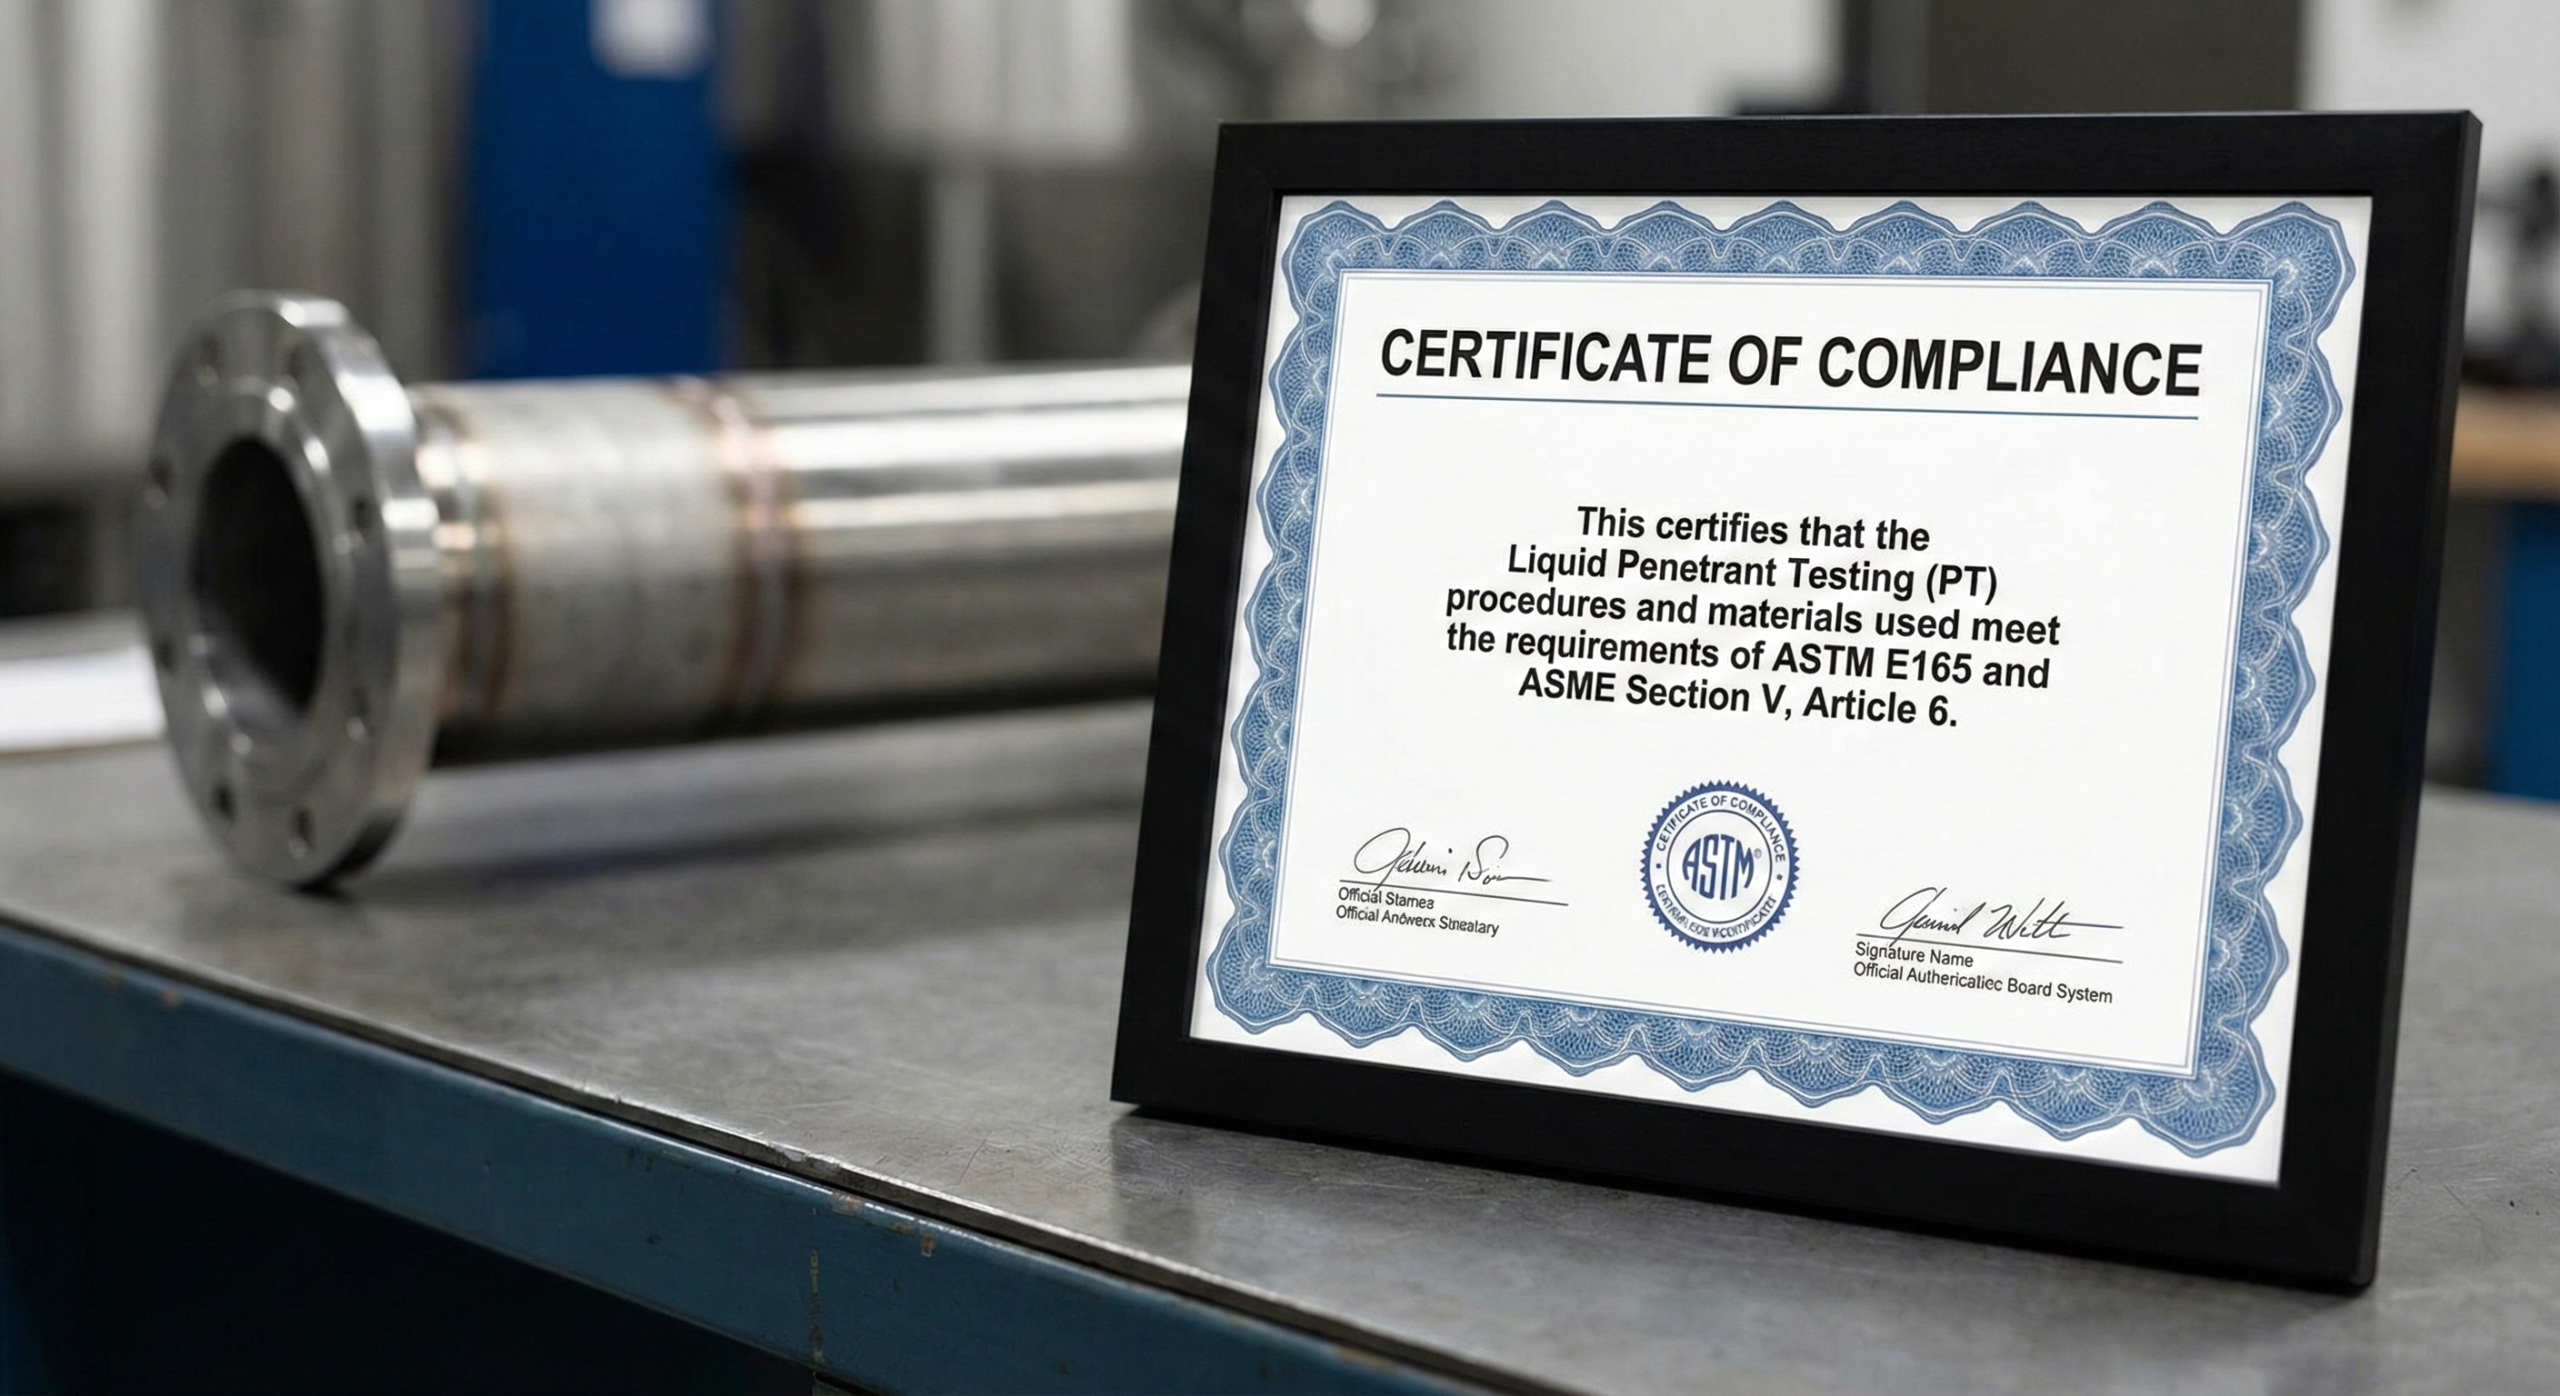
For an Engineering or Procurement Manager, compliance isn't just a piece of paper. It's the foundation of a project's safety and longevity. When we say we follow the standards, we mean we have integrated them into our daily work. Our technicians are trained and certified according to these codes, our materials are controlled, and our procedures are written to match every requirement. This isn't about passing an audit; it's about building trust. When you receive a shipment from us, you get the products you ordered and the documented proof that they were tested correctly. This reduces your procurement risk and helps you maintain your credibility with the end client.
A Closer Look at Core Standards
These standards provide the rulebook for our testing processes. They ensure that a test performed in our facility in China is just as reliable as one performed in the US or Europe.
| Standard | Focus Area | Key Requirements for Us |
|---|---|---|
| ASTM E165 | General Industry Standard Practice | This is our go-to guide for the "how-to" of penetrant testing. It defines the different types of penetrant systems (fluorescent, visible dye), methods for removal, and developer types. It provides the technical framework for the 6-step procedure we outlined earlier. |
| ASME BPVC Section V, Article 6 | Boiler and Pressure Vessel Code | This standard is more specific and often required for projects in the power, oil & gas, and chemical industries. It sets strict rules for personnel qualification (e.g., SNT-TC-1A), temperature controls during testing (usually between 40°F and 125°F), and exact timings for each step. |
| ISO 3452-1 | Non-destructive testing — Penetrant testing | This is the international equivalent of ASTM E165. We align our processes with ISO standards to ensure seamless compliance for our European and other international clients. It covers similar principles regarding materials, equipment, and procedures. |
By building our internal quality system around these standards, we ensure that every test is repeatable, traceable, and, most importantly, reliable.
What Is the Simple Principle Behind Liquid Penetrant Testing?
Does "penetrant testing" sound complex or scientific? It's actually based on a very simple, everyday principle. Understanding it helps you appreciate why it's so effective for finding surface flaws.
The principle is capillary action. A low-viscosity liquid (the penetrant) is applied to a surface. It automatically seeps into any cracks or pores open to the surface. After the excess liquid is removed, a developer draws the trapped penetrant out, creating a visible indication.
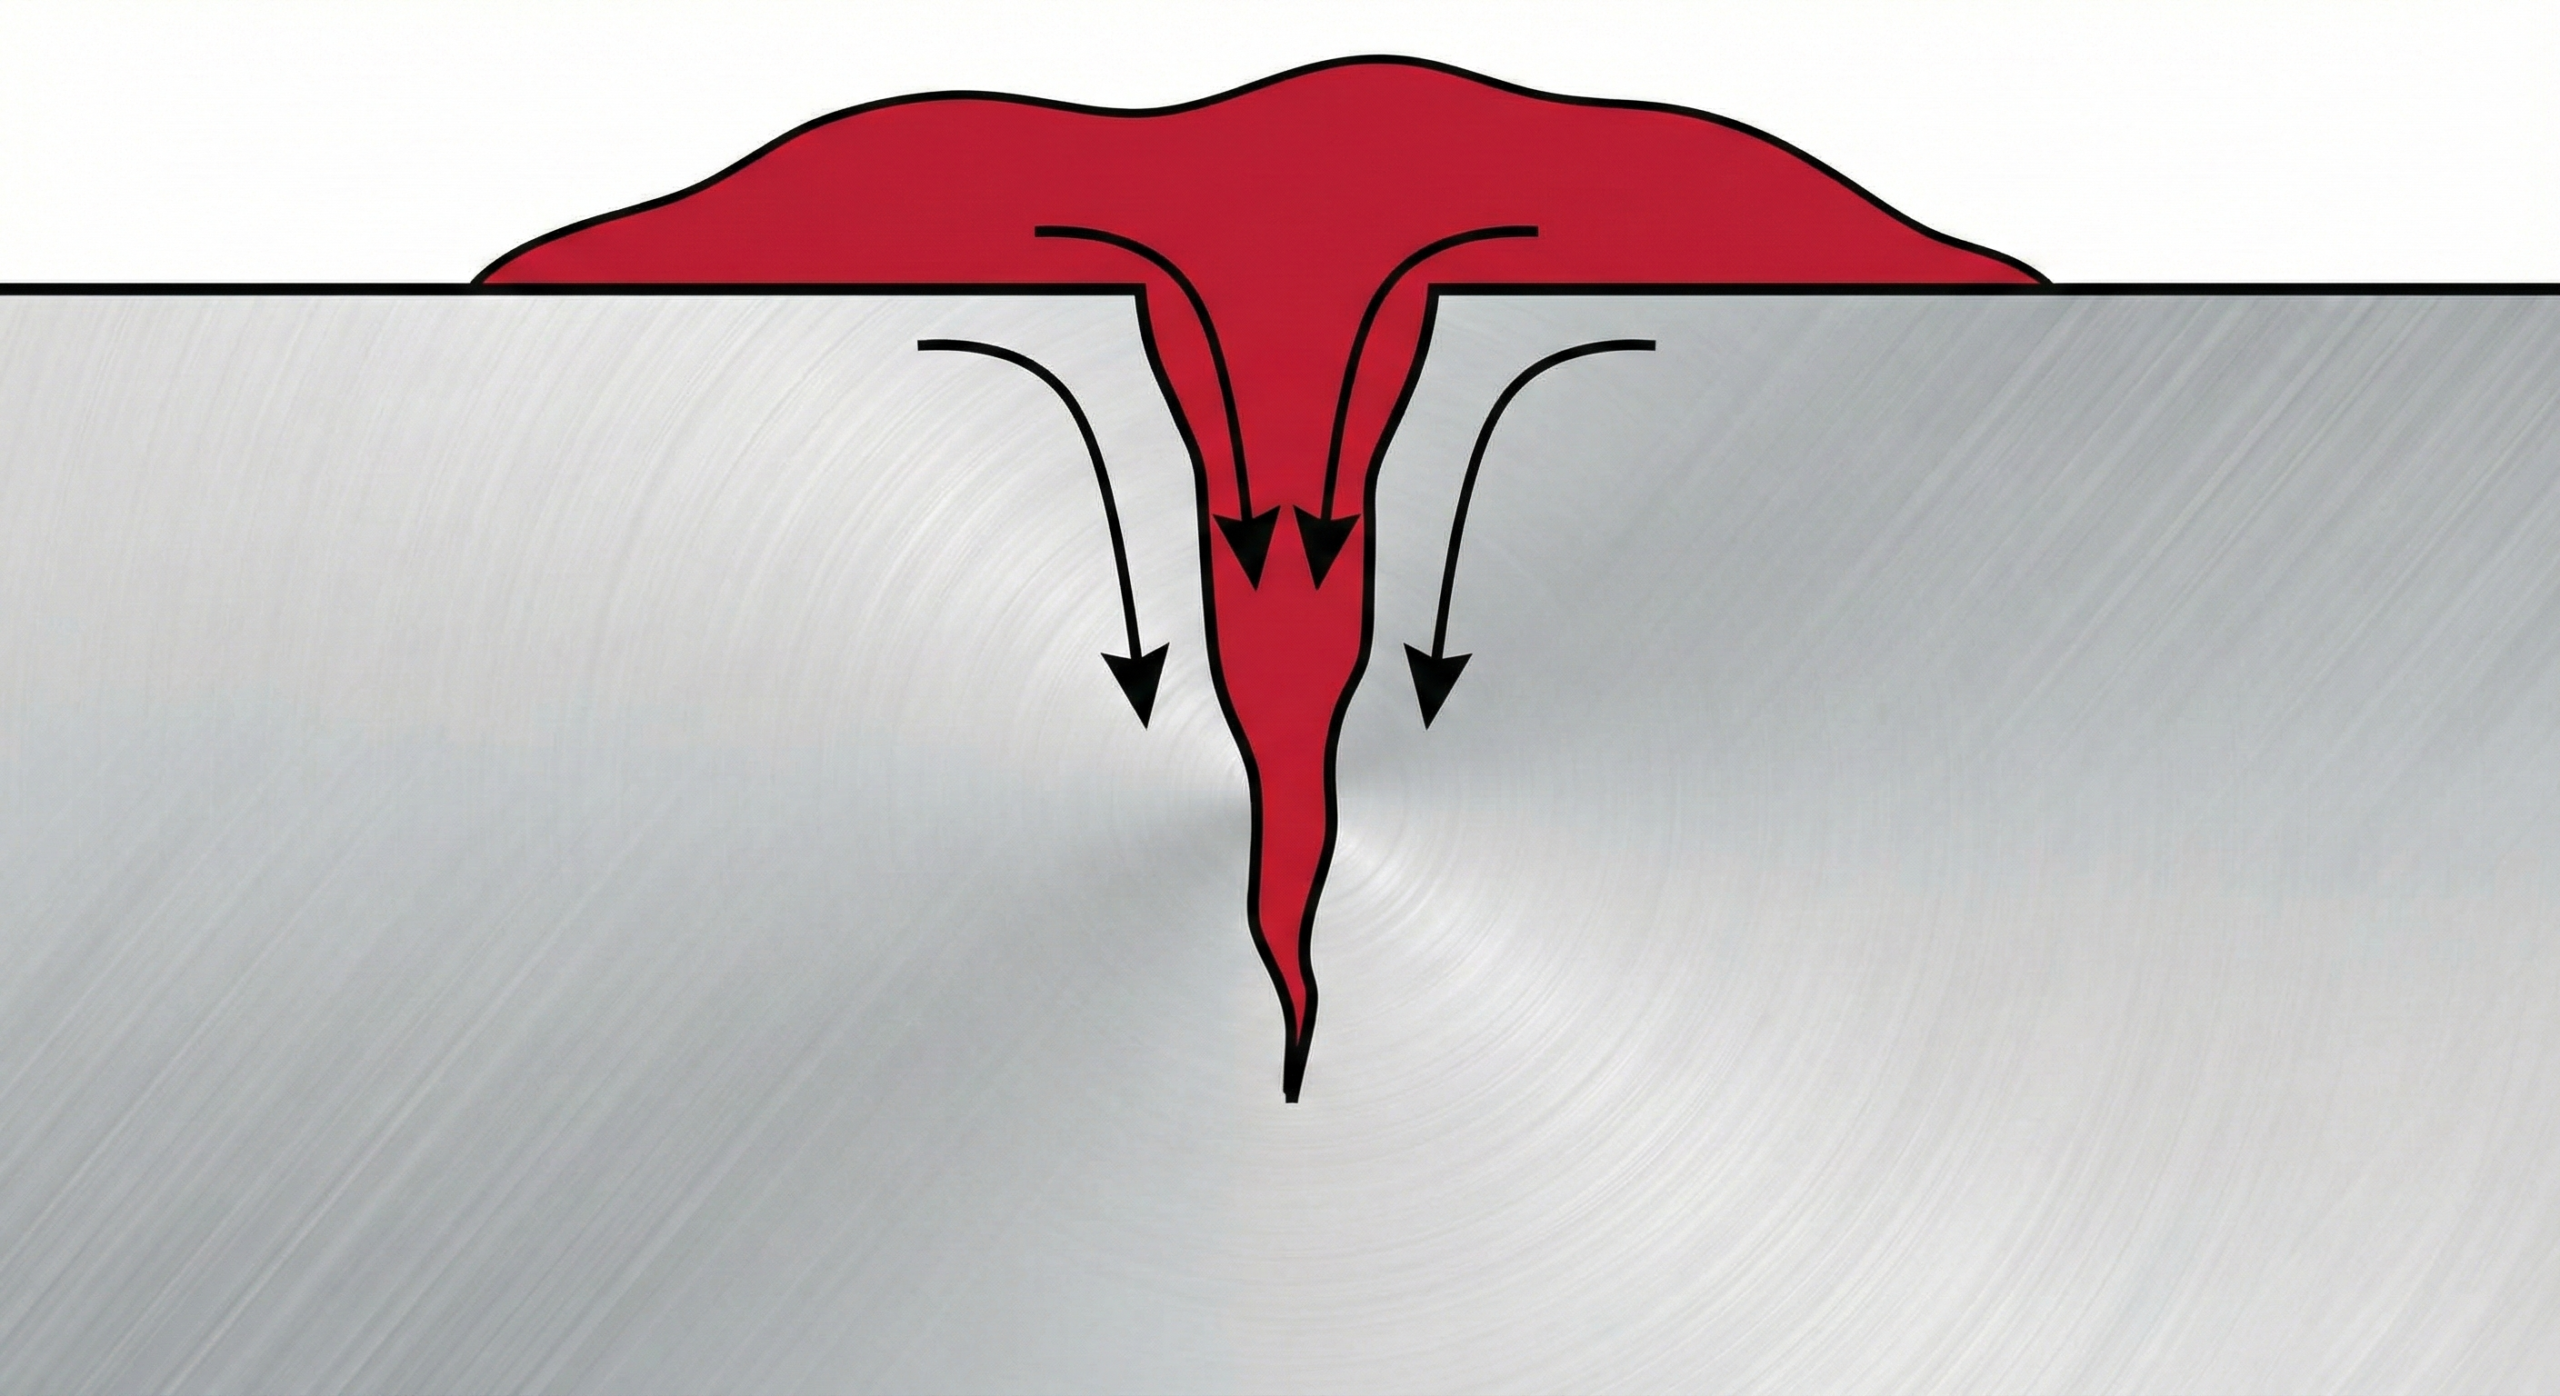
The human eye is an amazing tool, but it's not perfect. It gets tired, it can be tricked by light, and it can definitely miss things, especially when an inspector has been looking at welds all day. I call PT our "second set of eyes" because it is designed to specifically overcome this human limitation. It's the perfect cure for "misjudging by eye." It helps us catch those problems that look perfectly fine on the surface but would cause a silent, costly failure once the system is under pressure. By spraying a pipe before it leaves our factory, you get peace of mind, and so do I.
How It Makes the Invisible Visible
The entire process is a clever, two-part trick to amplify a tiny flaw into something big enough to see easily.
Part 1: The "Seep In" Phase
Think about how a paper towel instantly soaks up a water spill. The water seems to climb into the paper fibers all by itself. That's capillary action. The penetrant liquid we use is designed with very low surface tension, so it behaves in the same way. When we apply it to the surface of a stainless steel pipe, it can't enter the solid metal. But if there is a microscopic crack, a tiny pore, or a fold from the manufacturing process, the penetrant is pulled into that opening. It fills up any defect that is open to the surface, no matter how narrow.
Part 2: The "Blot Out" Phase
After we wipe the surface clean, the penetrant is still hidden inside the crack. Now, we apply the developer. The developer is essentially a very fine, absorbent powder in a spray can. As it dries, it forms a porous white layer on the surface. This layer acts like a blotter. The capillary action now works in reverse. The developer pulls the trapped red dye out of the crack and onto the surface. As it emerges, the red dye spreads into the white developer material, creating a "bleed-out" or indication that is many times wider than the actual crack itself. A flaw that was completely invisible is now a clear red line against a white background.
Why is Penetrant Testing a Fundamental NDT Method?
Juggling different testing methods for your project? It can be hard to know which one to use and when. PT is a cornerstone of Non-Destructive Testing (NDT) for its unique and practical advantages.
Penetrant Testing is a fundamental NDT method because it is low-cost, portable, and highly sensitive to small surface discontinuities. It can also be used on a wide variety of non-porous materials, providing a quick and effective way to ensure surface integrity without damaging the part.
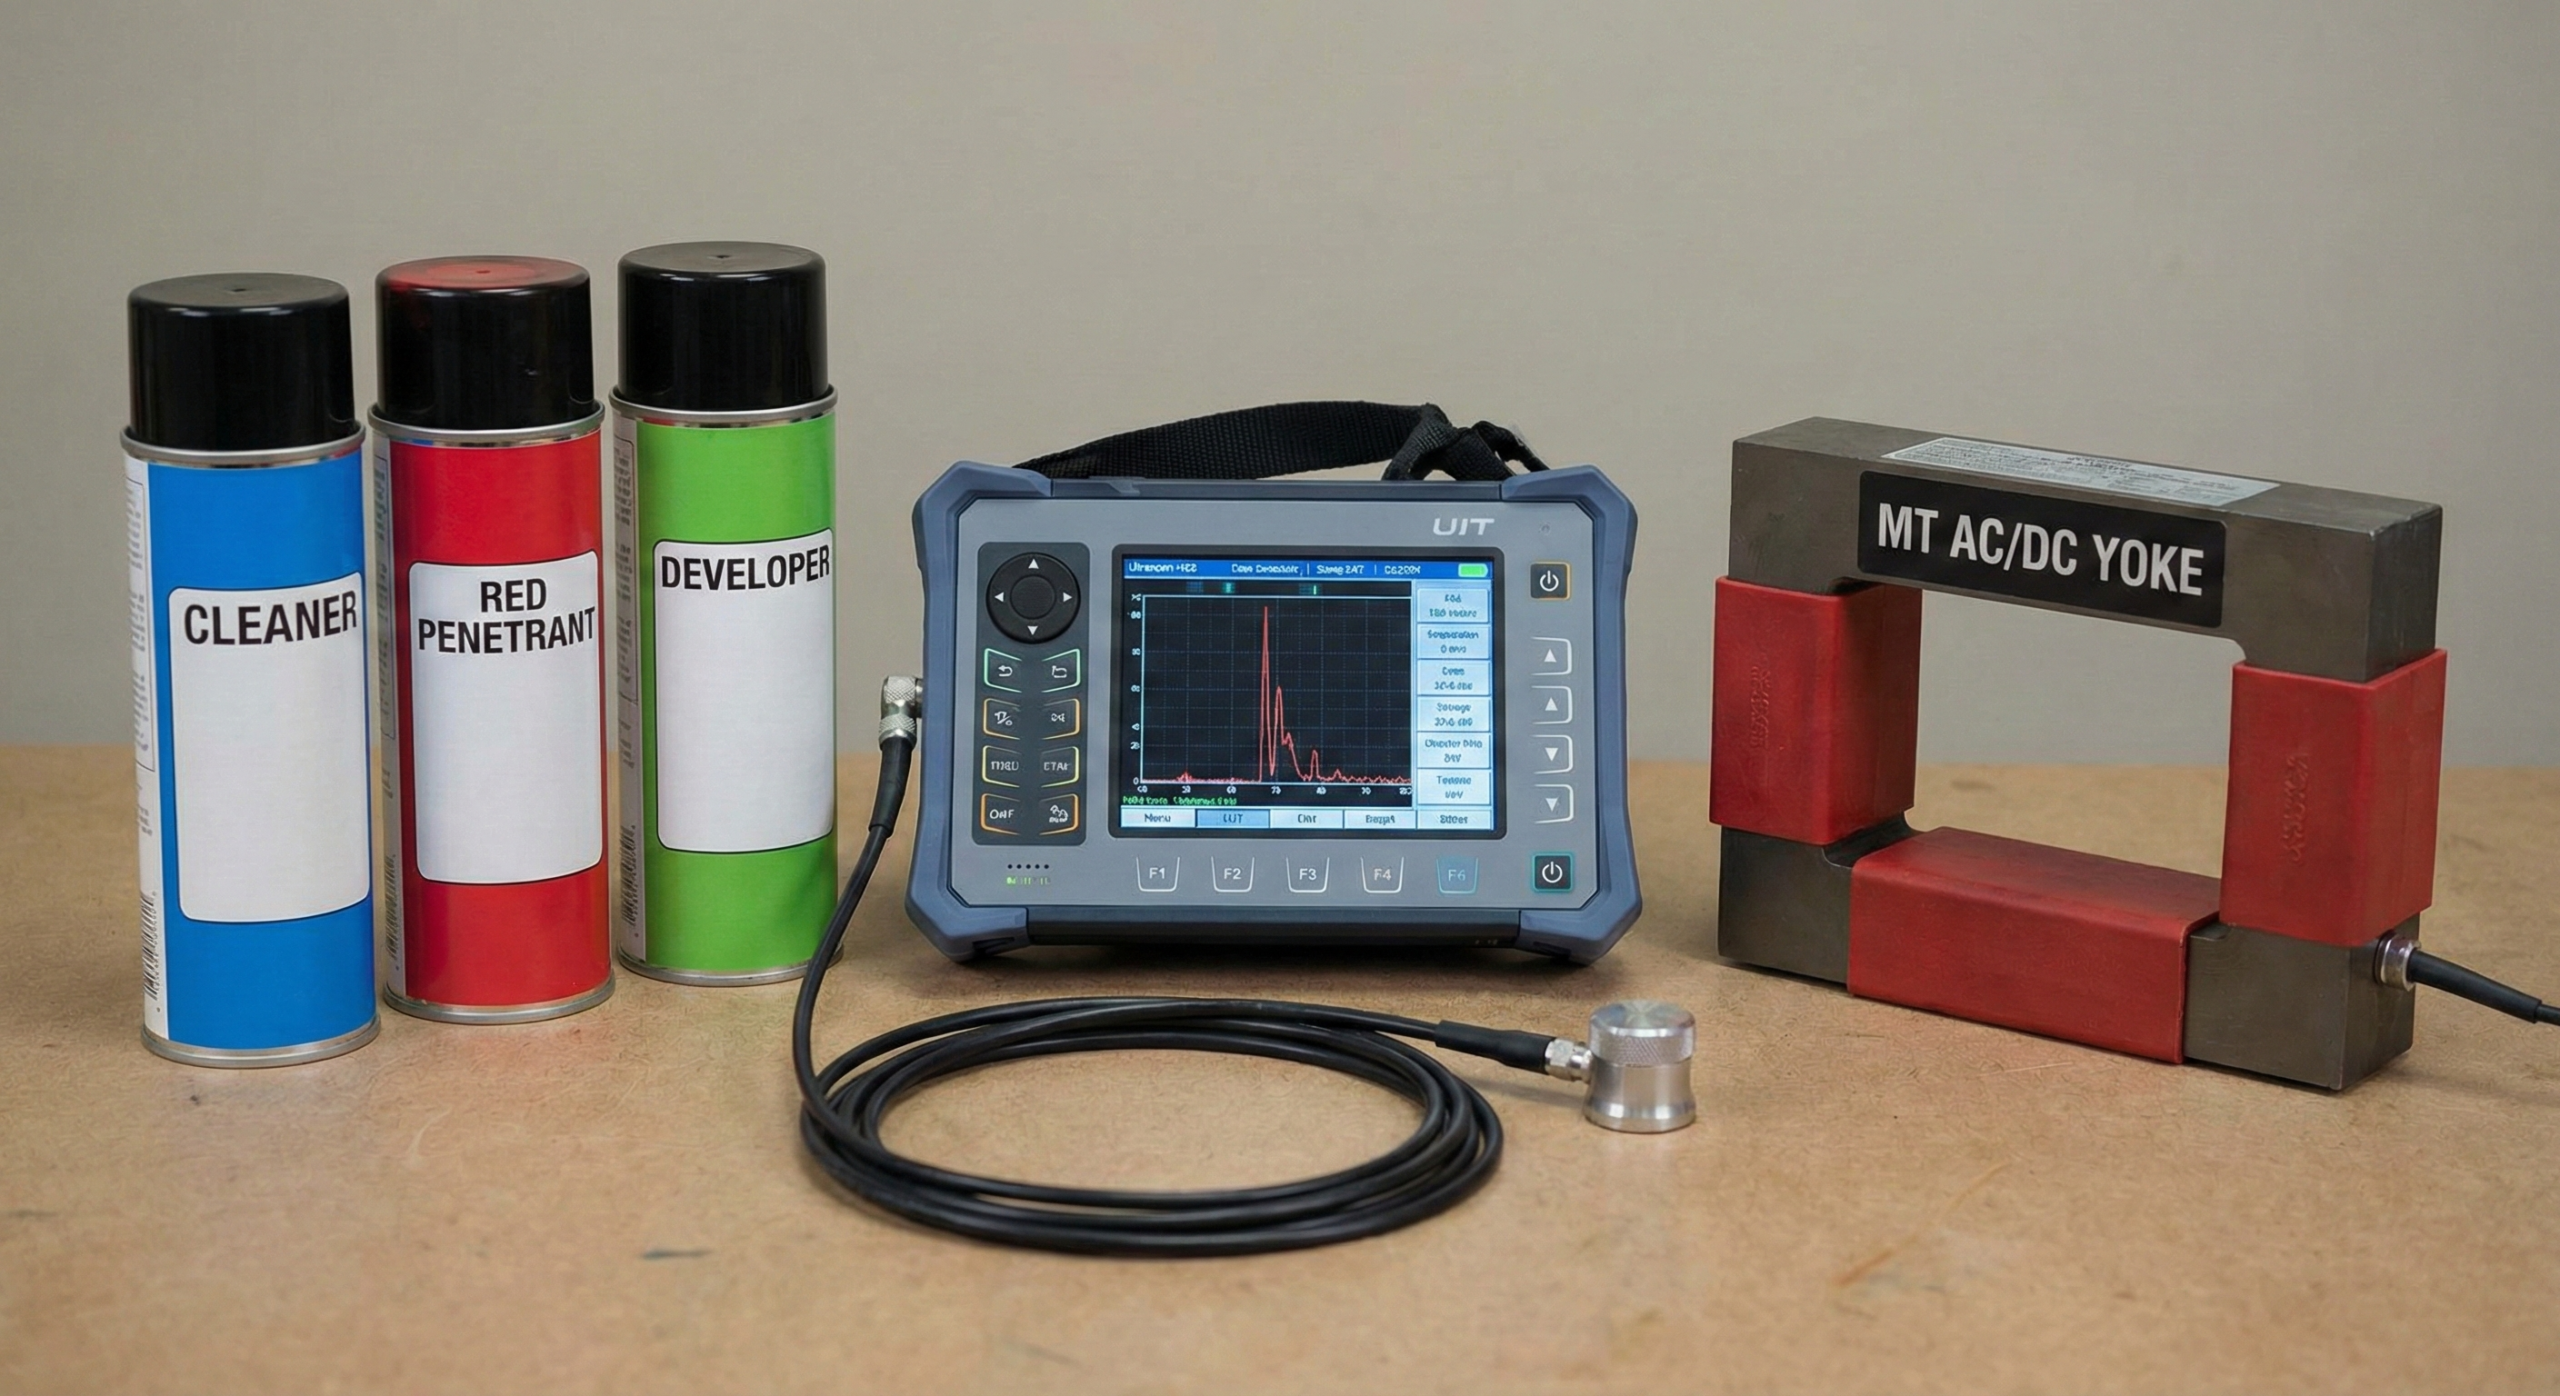
Let's be practical. As a procurement manager, you're always balancing cost, quality, and risk. PT fits perfectly into this equation. It's what I call "spending a little to get a lot of peace of mind." For checking surface quality on welds or the parent material of pipes and fittings, it offers the best return on investment. While other methods like Radiography (RT) or Ultrasonic Testing (UT) are essential for finding internal, subsurface defects, they are also slower, more expensive, and require highly specialized operators. PT is the first line of defense. It quickly and cheaply confirms that the surface, which is often the most critical area for initiating cracks, is sound.
PT's Role in a Complete Inspection Plan
No single NDT method can find everything. A smart quality plan uses a combination of methods, and PT is the workhorse for surface inspection.
| NDT Method | What It Finds | Best For | Key Limitations |
|---|---|---|---|
| Penetrant Testing (PT) | Surface-breaking defects (cracks, porosity, laps). | Detecting very fine surface cracks on non-porous materials. Low-cost screening of many parts. | Cannot find subsurface defects. The surface must be clean. Not for porous materials. |
| Magnetic Particle (MT) | Surface and near-surface defects. | Finding cracks in ferromagnetic materials (like carbon steel) quickly. More sensitive to cracks filled with debris than PT. | Only works on ferromagnetic materials. Requires electrical current. |
| Radiographic Testing (RT) | Subsurface defects (voids, inclusions, lack of fusion). | Verifying the internal integrity of critical welds. Provides a permanent film record. | High cost. Major safety hazard (radiation). Not good for detecting planar cracks unless perfectly aligned. |
| Ultrasonic Testing (UT) | Subsurface defects (cracks, laminations). | Detecting and sizing internal planar defects. Can be used on thick sections. | Requires a highly skilled and experienced operator. Surface condition can affect results. |
For stainless steel pipes and fittings, which are non-magnetic, PT is the default choice for surface inspection. It gives us the confidence that the material is free from surface-breaking flaws before it ever gets to your project site.
What Are the Essential Materials Used for Penetrant Testing?
Using the wrong chemicals can give you a false sense of security. Are you sure your supplier uses certified materials? We only use approved, high-quality materials to ensure every test is valid.
The essential materials include a cleaner/remover to prepare the surface, the penetrant itself (either fluorescent or visible dye), and a developer to draw out the penetrant. Each component plays a critical role, and their quality and compatibility are vital.
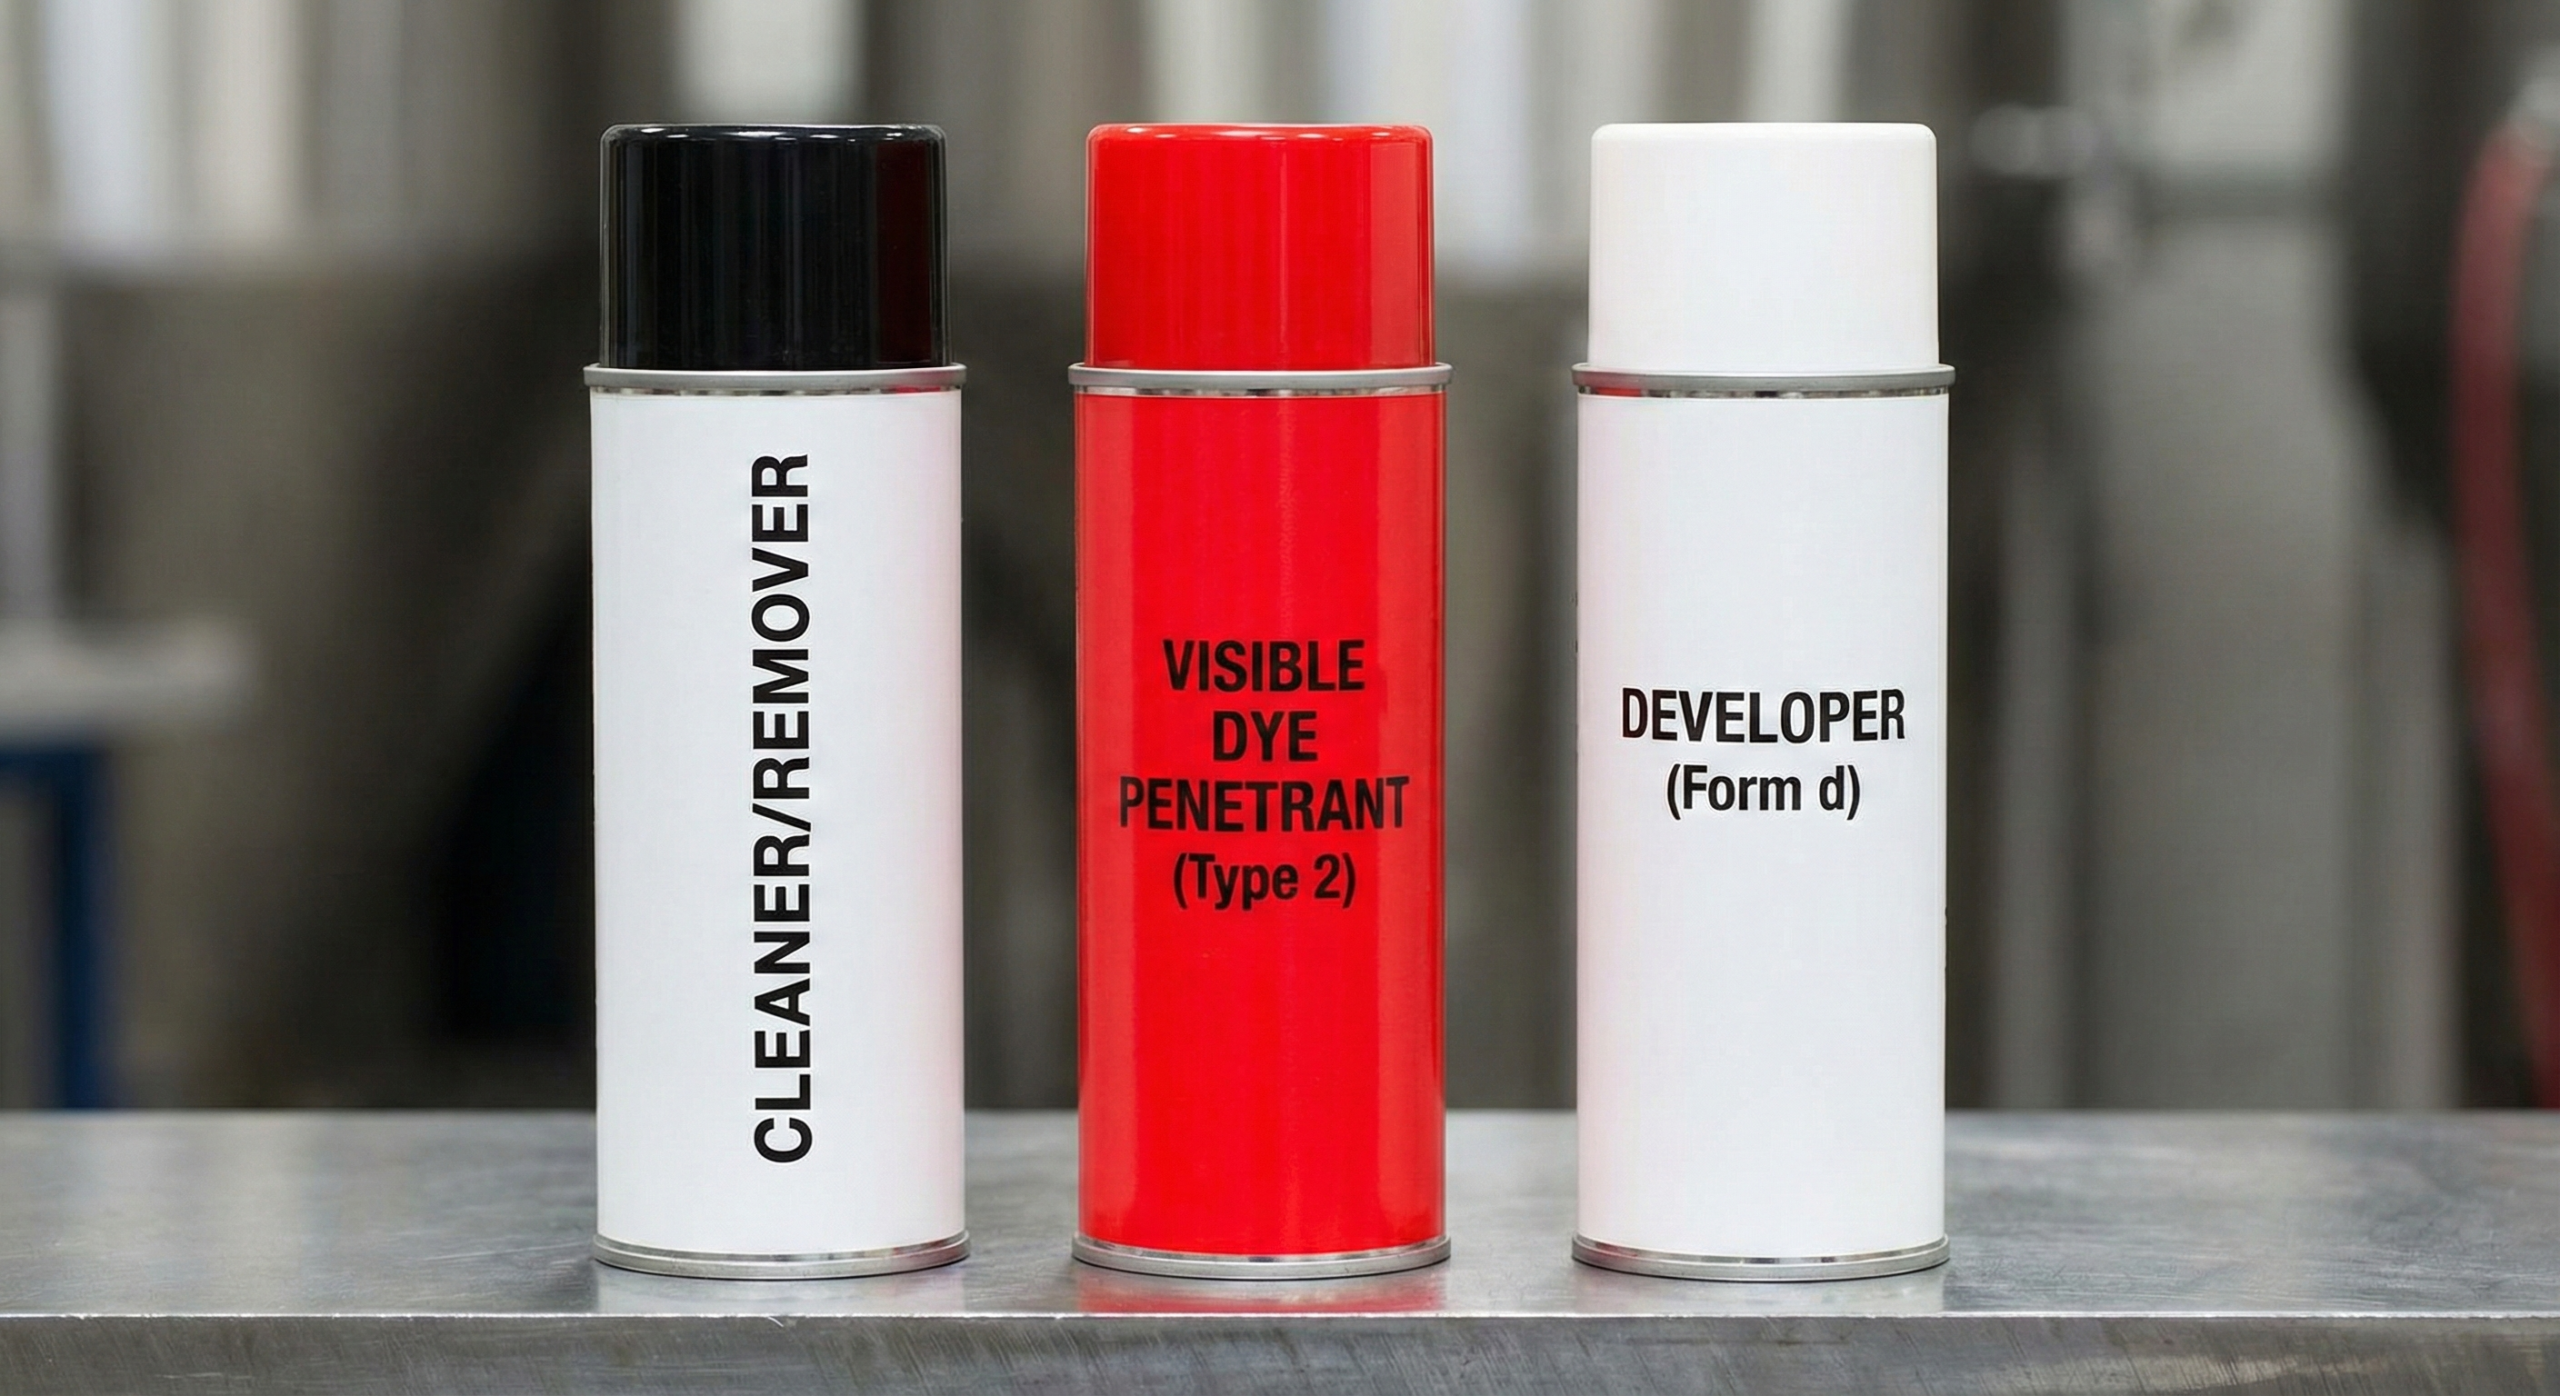
This goes back to our philosophy of doing the job by the book. The materials are just as important as the procedure. We don't just grab any can of cleaner off the shelf. We use a system of chemicals from a single, reputable manufacturer. This ensures that the cleaner, penetrant, and developer are all designed to work together. Using a cleaner that leaves a residue, for example, could completely invalidate the test. We control our inventory, check expiration dates, and store the materials at the correct temperature. It's another part of the "boring" work that is absolutely essential for reliable results.
The Three Key Material Types
For the visible dye penetrant testing we commonly perform on stainless steel products, the material system consists of three distinct parts.
| Material Category | Type We Use | Purpose & Function |
|---|---|---|
| Cleaner / Remover | Solvent-Based | This is a fast-evaporating solvent. Its first job is to pre-clean the surface to remove all oils and contaminants. Its second job is to gently remove the excess surface penetrant without flushing it out of the defects. |
| Penetrant | Type 2, Method C (Visible, Solvent-Removable) | This is a bright red, oil-based liquid with very low surface tension. "Type 2" means it's a visible dye (not fluorescent). "Method C" means it's designed to be removed with a solvent. It is engineered to seep into microscopic flaws. |
| Developer | Form d (Non-Aqueous) | This is a suspension of fine white powder in a fast-drying solvent, delivered in an aerosol can. It creates a thin, uniform white background that provides high contrast and actively pulls the red penetrant out of flaws to make them visible. |
By using a matched set of high-quality materials, we eliminate variables and ensure that the test is as sensitive and reliable as possible, every single time.
What Are the Common Chemical Names in Dye Penetrant Testing?
Confused by the chemical names on a test report or a Material Safety Data Sheet (MSDS)? Knowing the basics helps you verify the process. We believe in transparency, so let's demystify these chemicals.
Common chemicals include cleaners like Isopropyl Alcohol or Acetone. Penetrants are often oil-based carriers like petroleum distillates mixed with a dye. Developers typically use inert powders like silica or talc suspended in a volatile solvent.
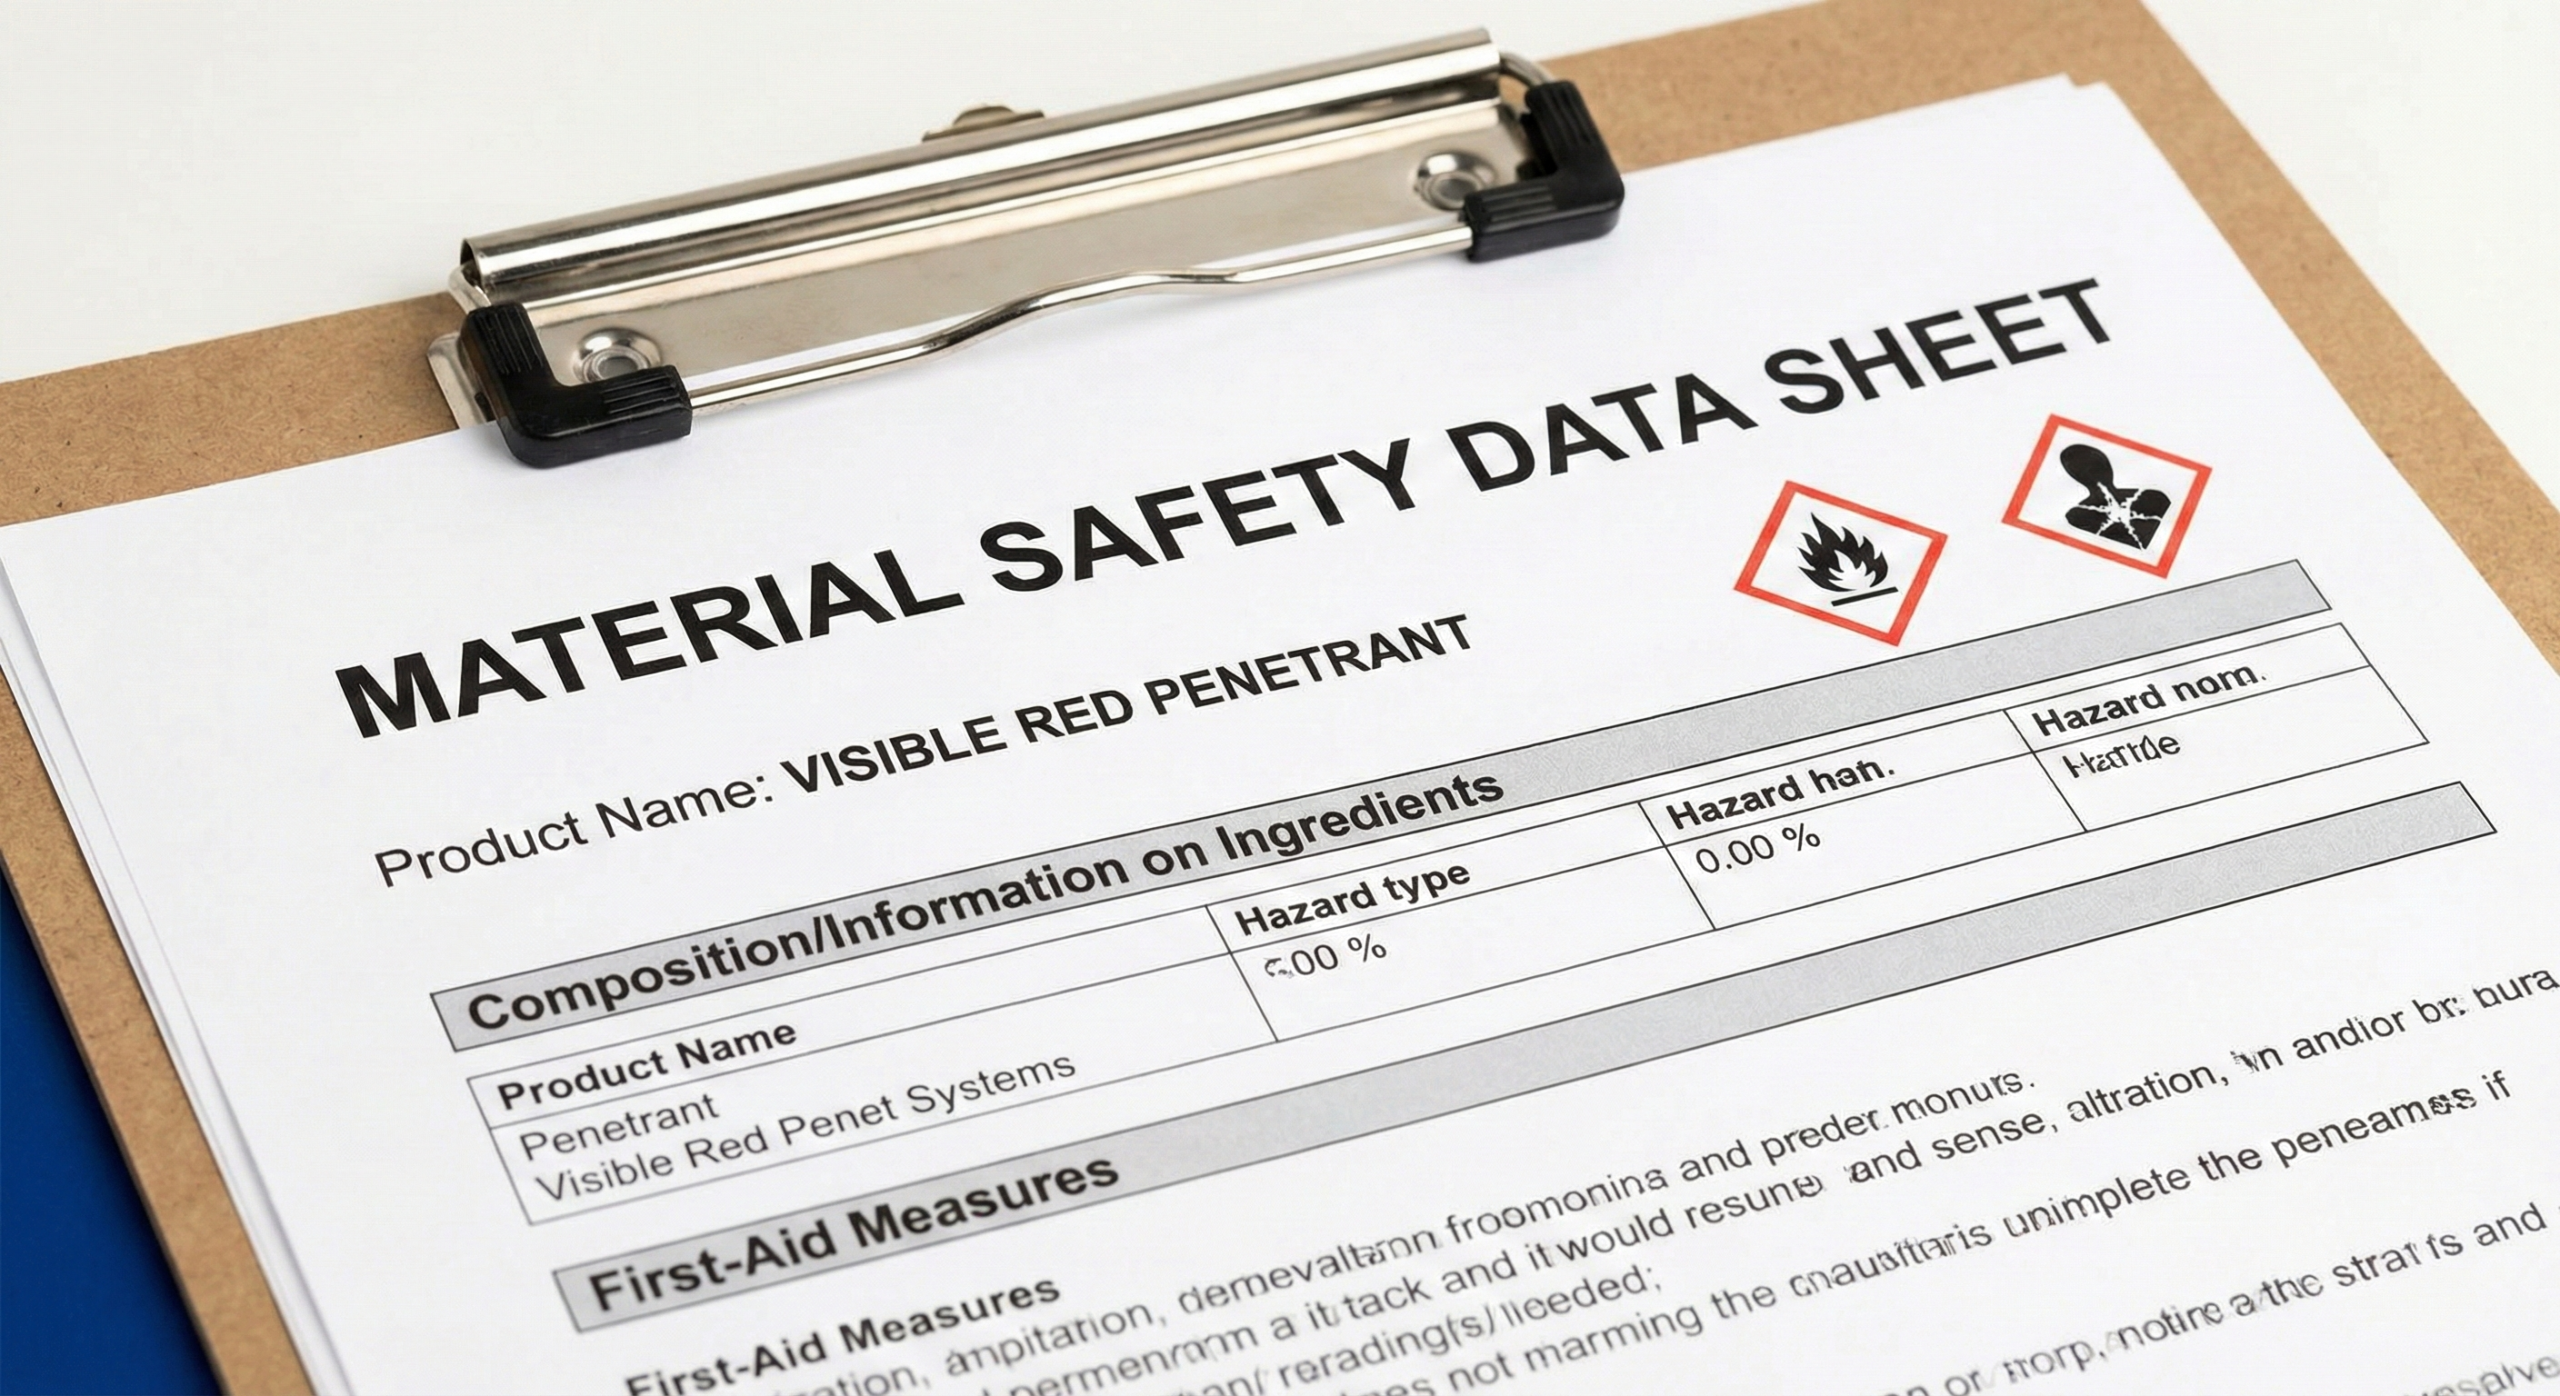
Understanding the materials used is not just for chemists. As a project manager, it helps you appreciate the safety and environmental protocols involved. When we provide a test report, we can also provide the MSDS for the materials used. This shows that we not only handle these chemicals safely in our own facility (in line with our ISO 14001 environmental certification) but also that we are using industrial-grade products designed specifically for this purpose. It’s another layer of transparency that confirms you are working with a professional and responsible manufacturer.
Breaking Down the Chemical Components
While brand names vary, the underlying chemistry of PT materials is fairly consistent. Here’s a look at what’s inside the cans.
| Function | Common Chemical Name(s) | Purpose in the Process |
|---|---|---|
| Pre-Cleaner / Remover | Isopropyl Alcohol, Acetone, Heptane, Naphtha Blends | These are volatile solvents. Their job is to dissolve and lift away oils, greases, and other surface contaminants without leaving behind a residue that could block defects. |
| Penetrant (Visible Red Dye) | Light Petroleum Distillates, Oil-Soluble Azo Dyes | The petroleum distillate acts as a low-viscosity carrier liquid that flows easily into cracks. The Azo dye is a synthetic organic compound that provides the intense red color for high visibility. |
| Developer (Non-Aqueous) | Inert Powders (Talc, Silica, Kaolin), suspended in a Solvent (Acetone, Isopropyl Alcohol) | The solvent carrier flashes off quickly, depositing a thin, even layer of the inert white powder. This powder layer has a high surface area and acts as the "blotter" to draw the penetrant dye out of the flaw. |
Knowing these components helps you understand that PT is a controlled chemical process, not just a matter of spraying some red paint. The quality of these chemicals directly impacts the quality of the inspection.
What Should a Proper Liquid Penetrant Testing Report Contain?
A weak report leaves you with no proof of quality. Vague details can hide shoddy work. Our detailed reports provide full traceability and a clear record of compliance for your project files.
A comprehensive report must include: identification of the part tested, the procedure and standards used (e.g., ASTM E165), details of the materials, test parameters like time and temperature, a record of all indications found, and the inspector's certification.
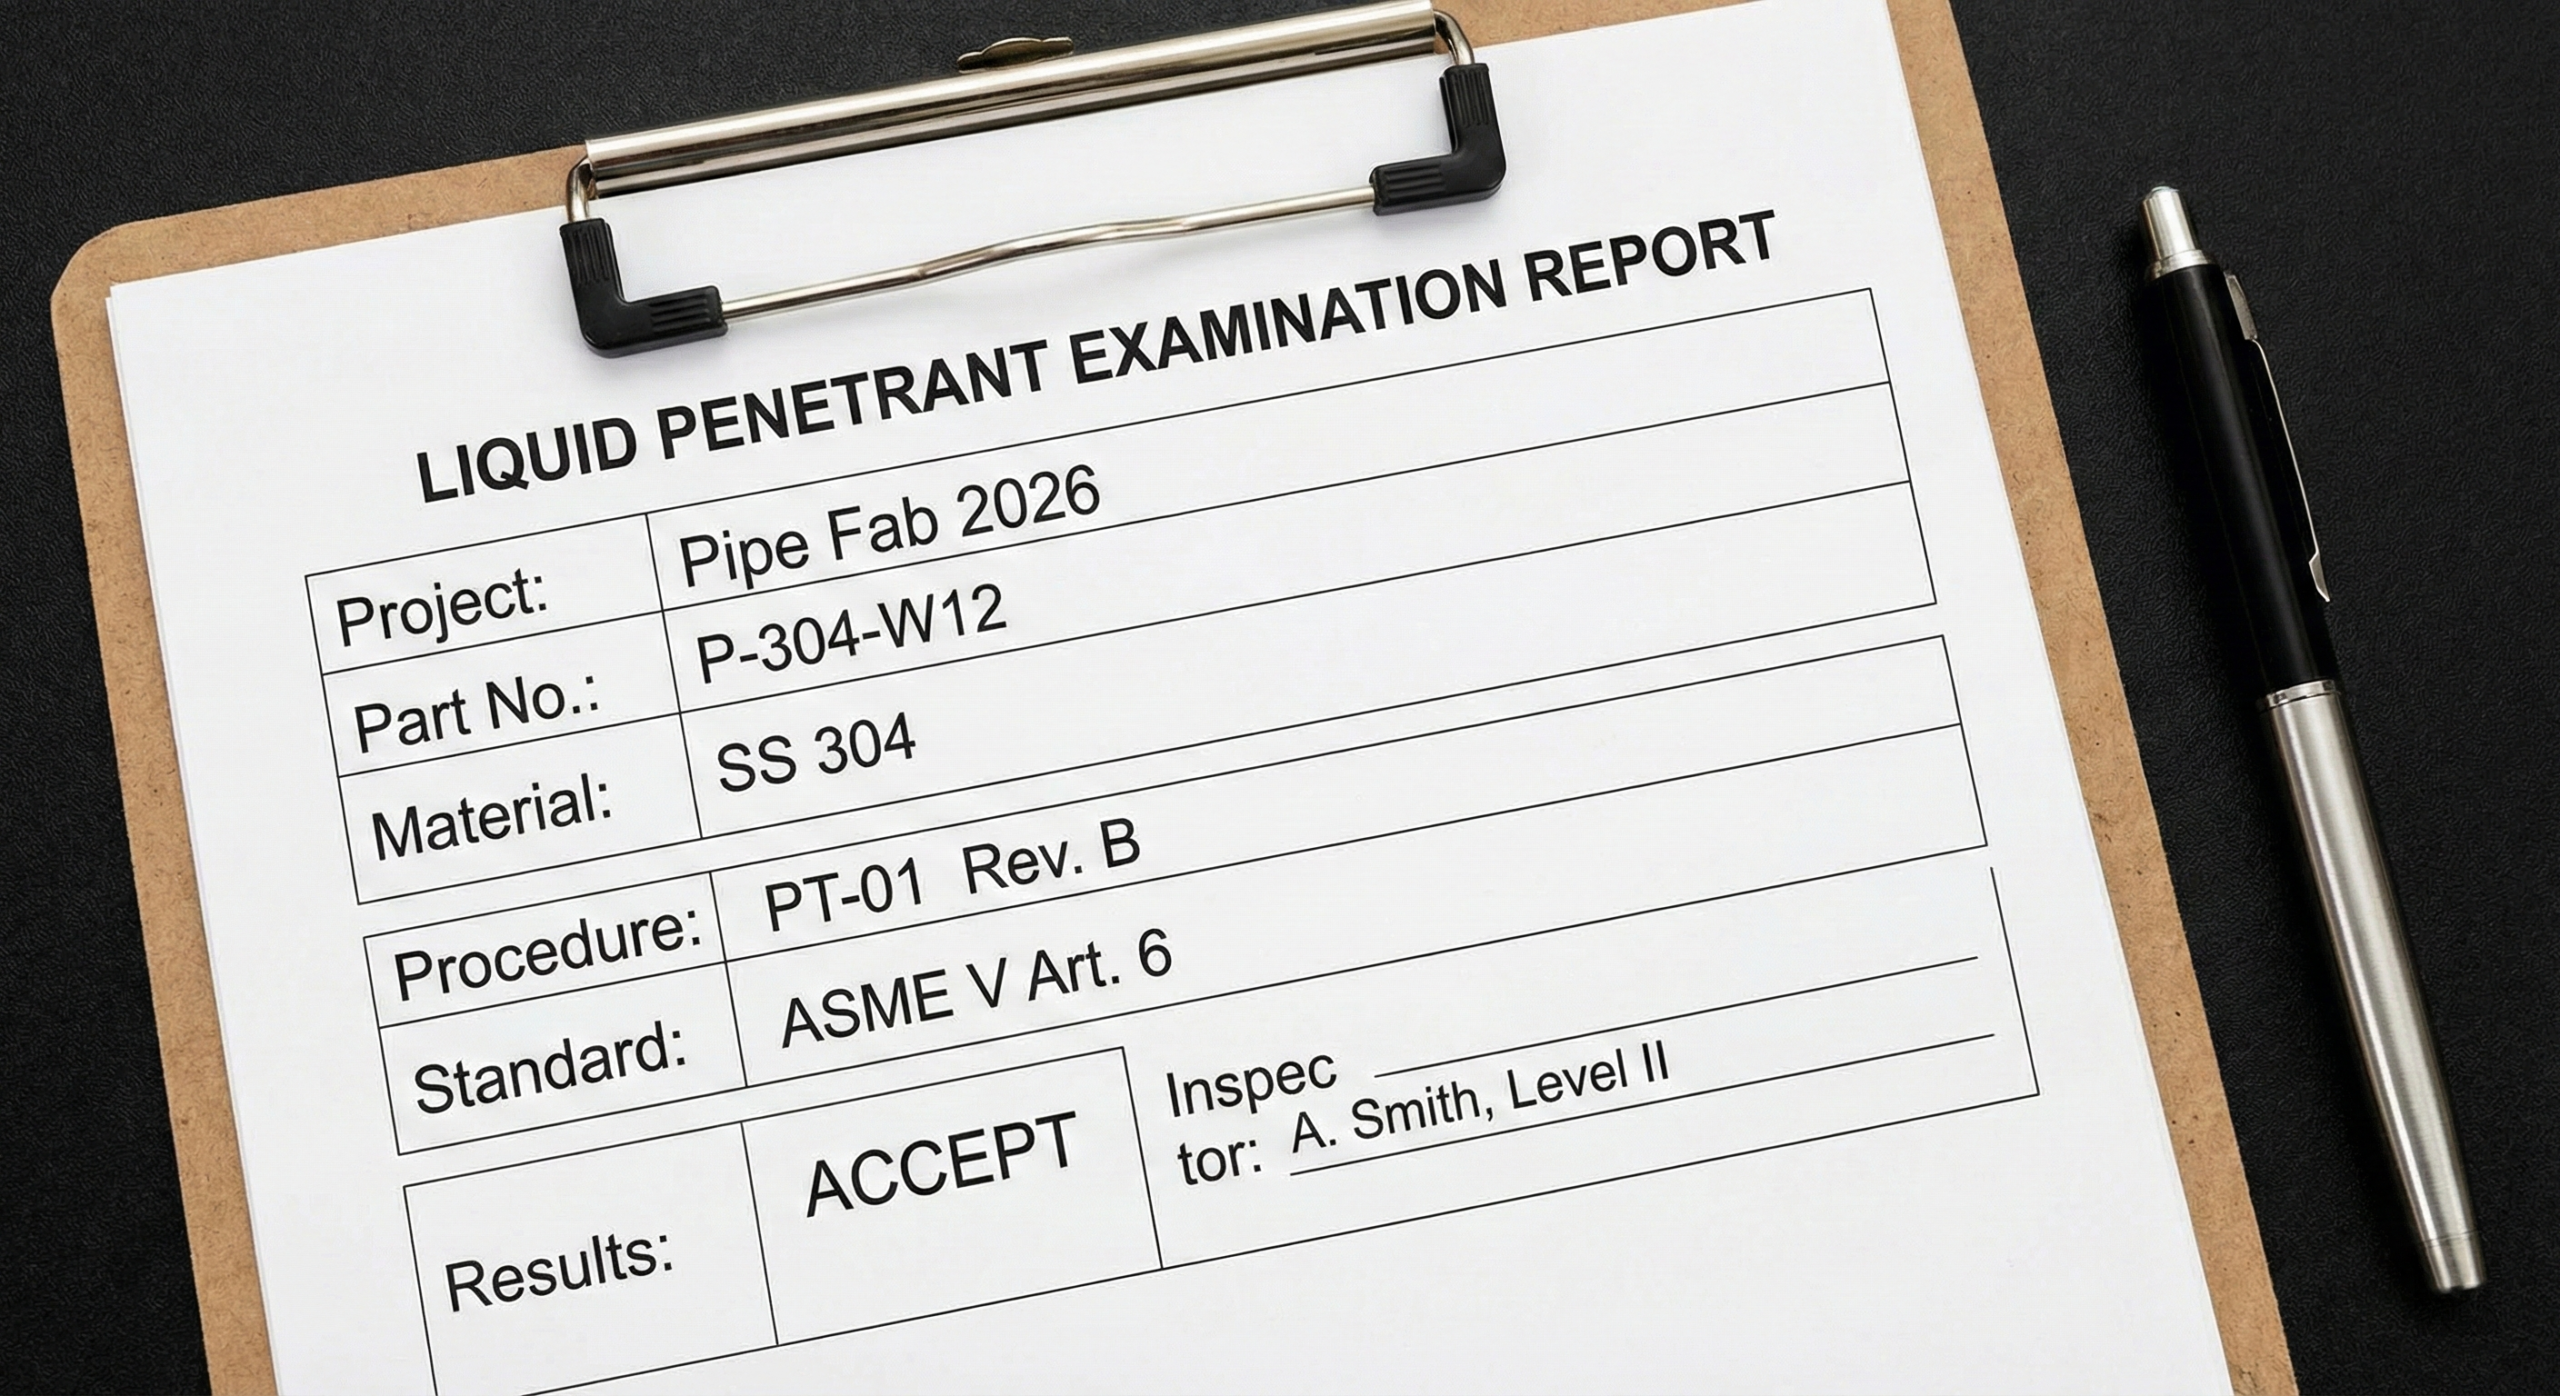
The test report is the final product of the inspection process. For an EPC contractor or a project manager, this document is as important as the physical pipe itself. It's your evidence that due diligence was performed and that the components meet the required quality standards. A report that just says "Pass" is not enough. We provide reports that give you all the details, so you have a complete, traceable record. This protects you in case of an audit and gives you the data to prove the quality of the components you procured for your project.
Anatomy of a Comprehensive PT Report
Our reports are designed to be clear, concise, and complete. They contain all the objective evidence needed to validate the test. Here’s what you can expect to see.
Section 1: General Information
- Client & Project: Your company name and project identifier.
- Part Identification: Part numbers, drawing numbers, and crucially, the material heat numbers for full traceability back to the raw material certificate.
- Test Procedure: The specific internal procedure number used (e.g., HBP-NDT-PT-01).
- Governing Standard: The standard the test was performed to (e.g., ASME Sec. V, Art. 6).
- Acceptance Criteria: The standard used to judge the results (e.g., ASME B31.3, Chapter VI).
Section 2: Test Materials & Parameters
- Material Details: A table listing the manufacturer, product name, and batch number for the cleaner, penetrant, and developer.
- Test Conditions: The temperature of the part surface during the test.
- Times: The exact dwell time for the penetrant and the development time before inspection.
Section 3: Test Results
- Inspection Area: A description or drawing of the area tested (e.g., "Weld seam #3" or "All accessible surfaces").
- Findings: A clear statement of the results. If indications are found, they are described by their location, size, and type (e.g., "Linear indication, 2mm long, at the weld toe"). If no indications are found, it will state "No recordable indications observed."
- Final Result: A clear "Accept" or "Reject" based on the pre-defined acceptance criteria.
Section 4: Authentication
- Inspector's Name: The name of the technician who performed the test.
- Certification Level: The inspector's qualification level (e.g., ASNT Level II).
- Date & Signature: The date the test was performed and the signature of the inspector.
This level of detail ensures there is no ambiguity and provides a robust quality record you can rely on.
Conclusion
In short, penetrant testing is a simple, low-cost, but vital quality step. Our disciplined process ensures your components are free from surface defects, giving you proven quality and peace of mind.